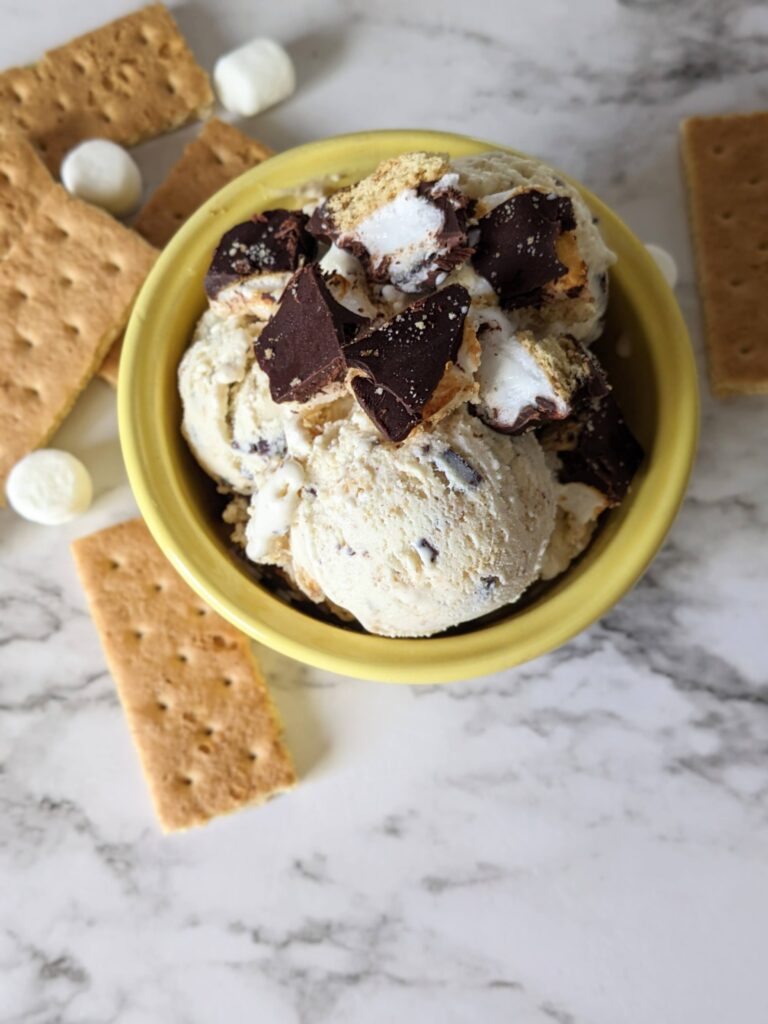
S’mores Ice Cream is a great way to eat your favorite summer treat without the heat. We whip up some homemade vanilla ice cream and then mix in some homemade s’mores bark for a *chef’s kiss*. Both are easy to make and I’ll walk you through it in the recipe below. Feel free to use this vanilla ice cream base for just about any mix-in you can imagine.

This post contains affiliate links at no extra cost to you. View the full disclosure policy here.
Let’s make some ice cream!
The steps:
- The first step in making this ice cream is to make the vanilla custard base.
- You’re essentially going to make a cooked mixture of heavy cream, milk, sugar, salt, egg yolks, and vanilla extract. Then, you’ll pour it through a fine mesh strainer into a bowl with a lid.
- Let this custard cool at room temperature for about an hour, and then chill it in the fridge for 4+ hours.
- When you’re about ready to churn your ice cream, make your s’mores bark.
- Graham crackers will be laid out on a parchment lined baking sheet, topped with mini marshmallows, and then broiled in the oven until the marshmallows are nice and toasty. Keep a close eye on them, because they catch fast!
- Let this cool to the touch, about 10 minutes, and then pour your melted chocolate all over the top of the marshmallows, spreading it all around and down the sides.
- Place this pan in the freezer until you’re ready to mix it in to the ice cream.
- Pour your custard into your ice cream maker, here’s mine (I love it!), and churn until almost set.
- Pull the s’mores bark out of the freezer and use a large knife to chop it into small, bite-size pieces.
- Thoroughly mix the bark into your ice cream by carefully pouring it into the ice cream maker.
- Place your ice cream in freezer safe containers, these are the ones I use, until you’re ready to serve. Enjoy!

Substitutions:
- To make this gluten free, use gluten free graham crackers and gluten free mini marshmallows.
- Semi-sweet or milk chocolate can be used in place of dark chocolate.
Recommended kitchen items:
- Fine mesh strainers. This set of 3 fine mesh strainers have really come in handy in my kitchen. They’re great for sifting flour, dusting cocoa or powdered sugar, rinsing quinoa or beans, and the list goes on.
- Stainless steel measuring utensils. The spoons are my favorite, because they fit in spice jars. I also love using stainless steel, instead of plastic.
- Stainless steel mixing bowls. This set is awesome, because it has a non-slip bottom and lids for each bowl.
- Unbleached parchment paper sheets. I have these in a drawer, and love that I can pull one out when I need it. I also love that these sheets are unbleached.
- Cuisinart 2qt Ice Cream Maker. I’ve used this many many times and have had great results each time. Making your own ice cream is fun and satisfying, and this makes it so easy.
- Ice cream containers. These are perfect ice cream storage tubs! They’re BPA-free, have easy to use silicone lids, and hold 1qt each.
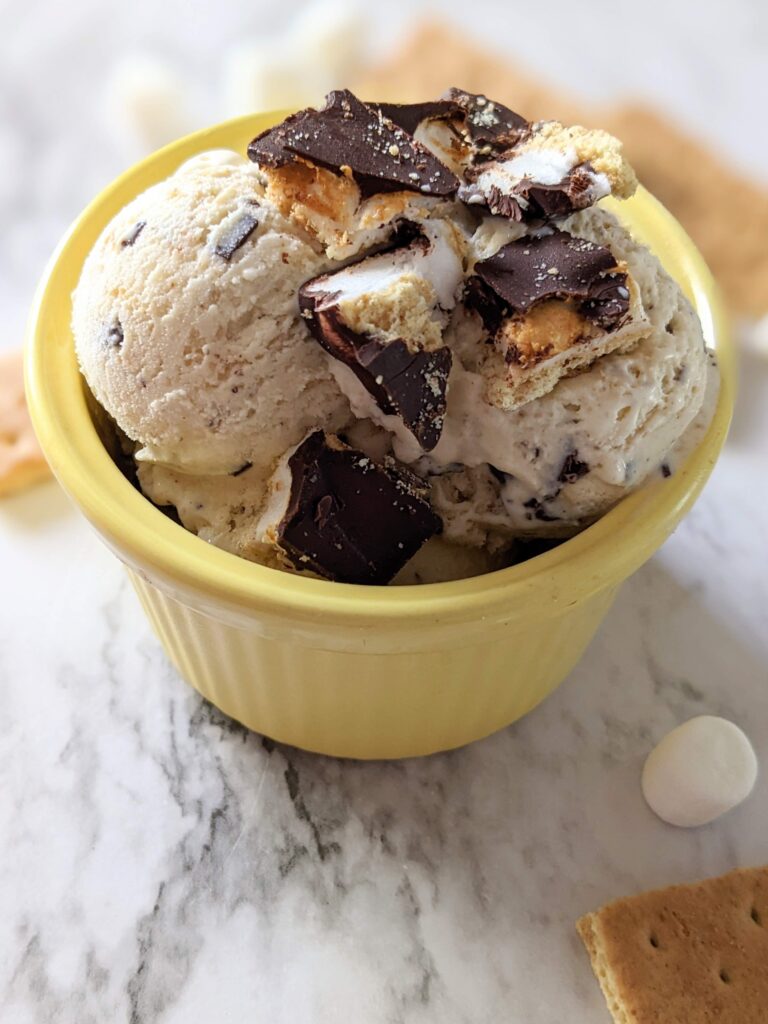
I hope you love this recipe, and would love to hear about how making it went for you! Share with me in the comments below, on Pinterest, or @whitsfoodfit on Instagram.
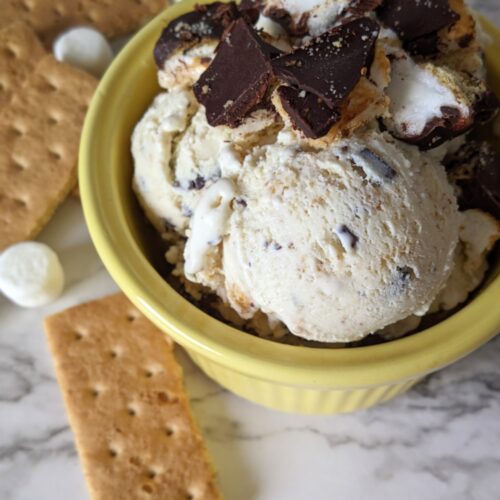
S’mores Ice Cream
(Soy free, Nut free, Gluten free option)
Ingredients
Custard
- 2 cups heavy cream
- 1 cup whole milk
- ½ cup sugar
- ¼ tsp salt
- 4 egg yolks whisked
- 1 Tbsp vanilla extract
S'mores Bark
- 5 graham crackers
- 1½ cups mini marshmallows
- 1½ cups dark chocolate chips, melted (I use 72% cacao)
Instructions
Custard
- Add the heavy cream, milk, sugar, and salt to a saucepan or double boiler and turn it on to medium-low heat.
- Whisk constantly while the mixture warms up. When the sugar has dissolved and you see your first signs of bubbles, turn off the heat.
- In a separate bowl, whisk your egg yolks. Spoon about ⅓ of the cream mixture into the egg yolks and whisk to combine.
- Turn the heat back on the stove and add the egg yolk/cream mixture.
- Stir occasionally and let the mixture heat to a low boil. Let it boil for another minute, making sure the temperature reaches at least 170F (77C), but no more than 185F (85C).
- Turn off the heat and strain the custard through a fine mesh strainer into a bowl that will go in the refrigerator.
- Loosely cover the bowl with it's lid and let it cool down to room temperature. This can take about an hour or so, depending on your home's temperature.
- Once it's reached room temperature, let the custard chill in the refrigerator for 4+ hours.
S'mores Bark
- Lay the graham crackers together on a half baking sheet, lined with parchment paper. Make sure they're touching sides.
- Evenly spread the marshmallows on the graham crackers.
- Place the pan under the broiler in the oven until the marshmallows become toasty- about 1-4 minutes, depending on your broiler's strength. Watch them very closely, because marshmallows catch easily. You want them nice and brown, so take them out right before you think they're going to burn.
- Let this cool for about 10 minutes while you prepare your chocolate.
- Melt your chocolate chips, either in the microwave or on the stove, until it's very smooth and pourable. I like to just microwave them in a microwave safe bowl for 30 second intervals, stirring between each one.
- Once the marshmallows have cooled, pour the chocolate all over the top of them, spreading it evenly, and making sure it goes down the edges. You essentially want to cover the entire thing in chocolate. Place this pan in the freezer until you need it next.
Ice Cream
- Assemble your ice cream maker and pour the vanilla custard into to it to churn. Mine generally takes about 25 minutes for the custard to thicken. You're going to add your bark before the ice cream gets hard, you want it to be about the thickness of soft-serve.
- While the ice cream is churning, remove your bark from the freezer. Use a large chopping knife to break it up into small bite-size pieces.
- When the custard has become like soft-serve, add the bark to the ice cream machine and let it all mix together. You may need to help some of the pieces get down into the bowl by pushing them down with a spatula.
- Scoop the ice cream into freezer safe containers and let it fully harden until you're ready to serve it. Enjoy!


